I recently got the new Sony A7R mark IV, and the first thing I did was dive into the menu settings and get it set up for my style of shooting. The new Sony has a change in the form factor, which made it much more comfortable in my hand. The battery grip was bigger, and the camera felt very tight. One of the best changes in form was the lock on the exposure compensation dial. I have had many times in the past where I had been shooting and later noticed that the exposure dial was turned up or down.
Do you use exposure compensation? If not, then you should start using it for better photography. Here’s an easy way to remember which way to go. If your background is lighter than your subject, then go lighter, or increase the exposure compensation. If the background is darker, then go darker, or decrease the exposure compensation. Have you ever taken a photo of an eagle sitting in some dark trees, only to see later that the head was all white and blown out? If you decrease the exposure compensation, then you will get detail in the Eagle’s head.
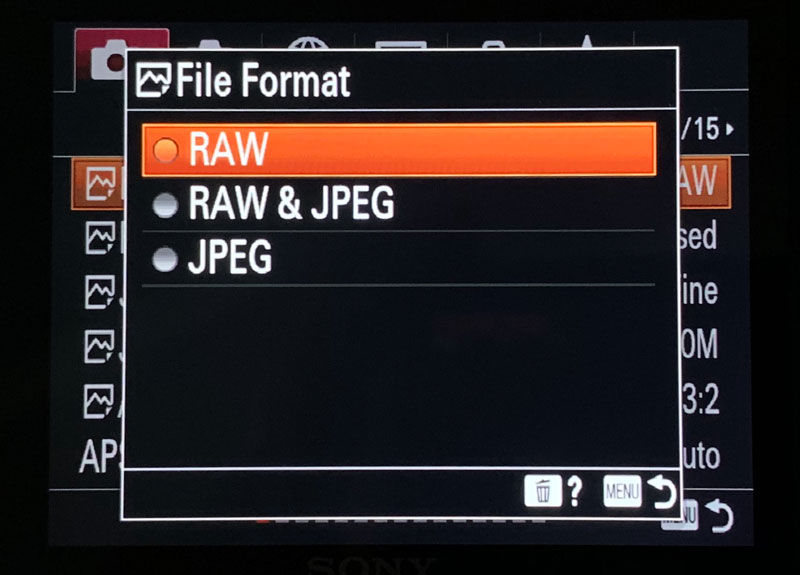
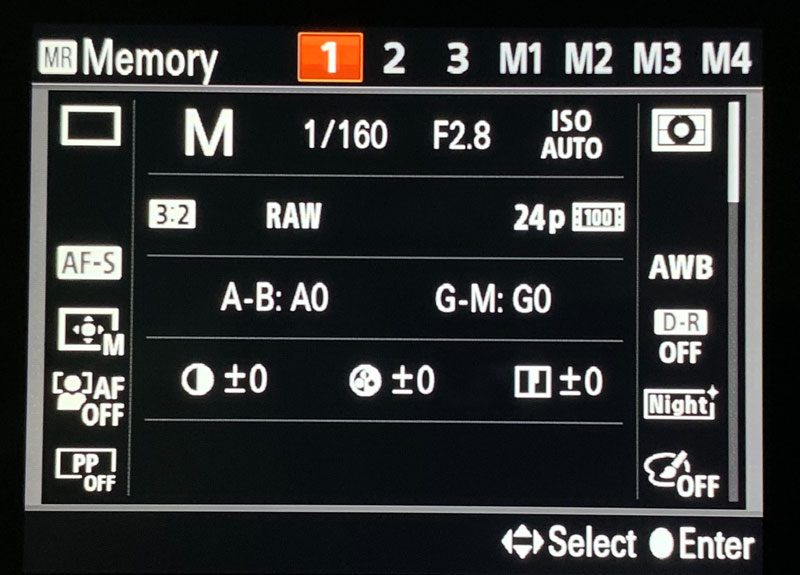
The first thing I change is to shoot RAW only, compressed. If I am shooting night sky, or something with high dynamic range, then I might shoot uncompressed, but the file sizes are much bigger.
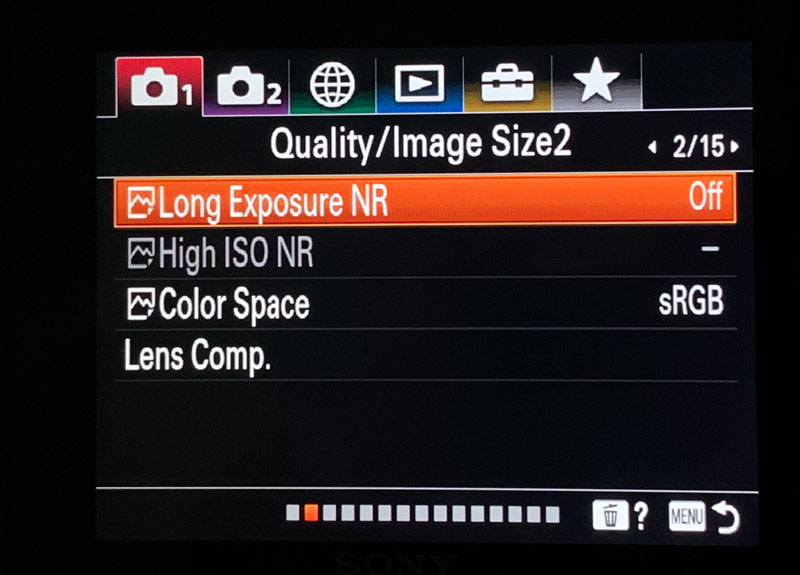
Next is Long Exposure Noise Reduction. This is going to be turned off, and only used If I want to get a clean shot shooting low light. When shooting night sky, I will get my shots of the sky, and sometime during the shoot, either early, or at the end, I will get one last shot using long exposure NR to get a clean foreground, then combine that with the top night sky or Milky Way shots later in post. Long exposure NR takes longer, so you wouldn’t want to do it with every shot.
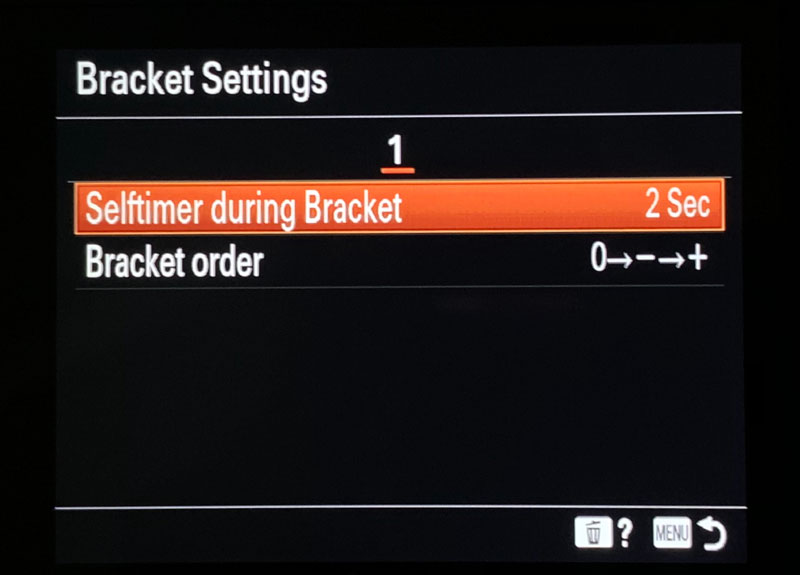
Next, I’m going to set up the bracket settings, and am going to turn the timer on to 2 seconds, so it is going to wait 2 seconds before taking the series of shots. I am going to choose to take the shots consecutively.
Interval shooting is next, which is a great new addition to the A7R IV. Interval shooting I am going to set to 5 seconds, and you can choose how many shots you want to shoot. Interval shooting is great for sunrises, sunsets, or anything else that you might want to use to create a time-lapse. If you do want to create a time-lapse, you will need to do so in post.

Next, I look at the Memory Recall, and set the 1, 2, and 3 mode settings on the top dial for 1- Wildlife, 2- Landscapes, and 3- Night Sky. You can set the camera up any way you like, choosing shutter speed, aperture, ISO, and any other settings and lock those settings in for each mode.
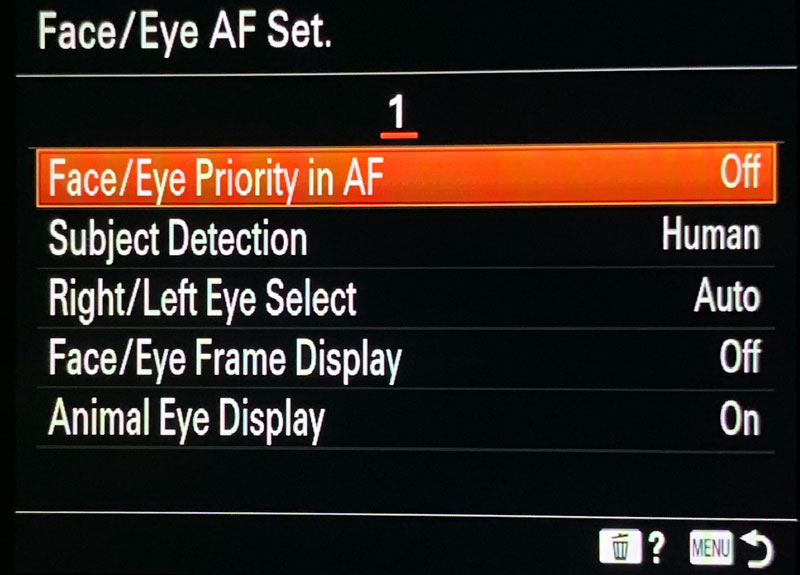
Next is Face Eye AF setup, which is what really separates Sony from the others. Sony now has eye AF full-time, so if it is turned on, it will lock on the eyes when shooting. The big thing for wildlife shooters, is that they now have human eye AF AND animal eye AF, which I will be testing this week in Grand Teton National Park. You can even choose to focus on the right or left eye. So far, I have been very impressed with Sony’s ability to lock on the eyes while shooting as good as it does.
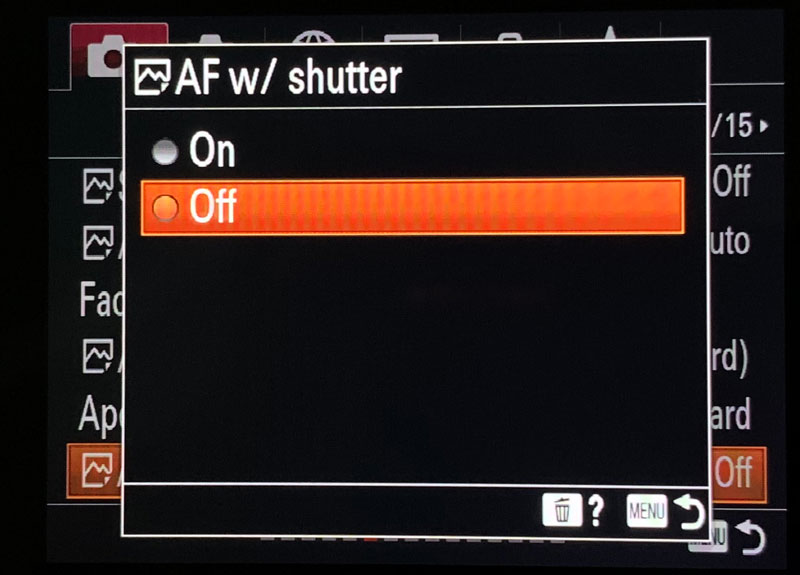
Next is back button focus. I want to turn off AF with shutter, which will not focus the camera when the shutter button is pressed, but will rather focus the camera with the back AF button, which is right where your thumb is when holding the camera. There are a couple reasons for this. First, it’s easier for me to lock on focus and hold it before taking a photo with the back button than it is with the shutter button. Secondly, I can recompose my shot if I want to. If I have an animal, or subject on the right or left side of the photo, and I want to recompose the shot, or if the animal turns the other direction, my focus point may not be in the right place. I can let off the back button and it will stay focused on the last spot, but I can then recompose and shoot, without having it lock on a new focus point that is off subject.
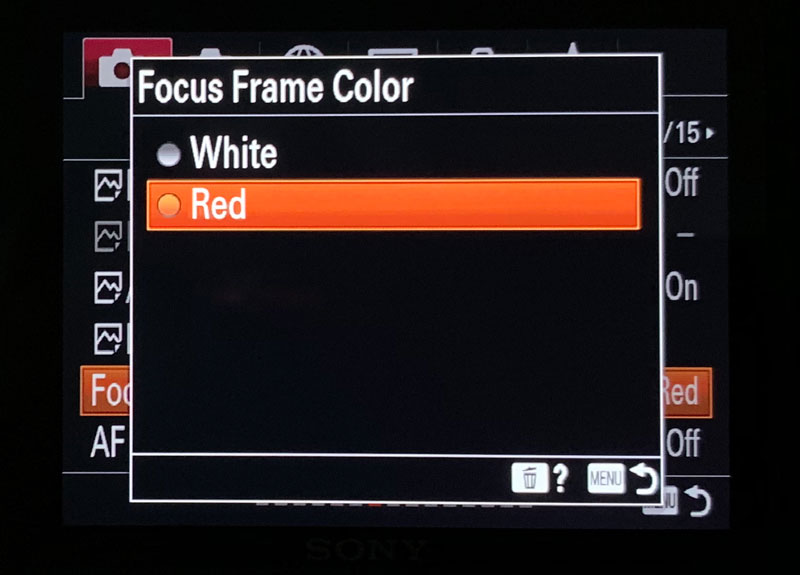
Another new feature to the Sony A7r IV is the ability to change the focus frame color. Changing it to Red makes it much easier to find on the back LCD or the view finder screen. This is something little that makes a big difference.
Next, I change the S&Q settings to 24p at 120 frames per second, so I can quickly change the top dial to S&Q to get great slow motion video.
Next is copyright info, where you can set the photographer to your name, and copyright to your name in the EXIF data.
Below Copyright info, you can also choose to turn on Write serial number, which will also attach the serial number of the camera to the image. This can be searched online through images if your camera is ever stolen or missing.